Screen protectors are essential to keep your devices free from scratches, smudges, and minor damages. However, installing one can be tricky, especially if air bubbles appear. With the right technique and tools, you can apply a screen protector seamlessly. Here’s a step-by-step guide on how to install a screen protector without air bubbles for various devices, from smartphones to tablets and laptops.
How to Put Screen Protector Without Bubbles
- Clean the Screen: Thoroughly clean your device’s screen using an alcohol wipe and a microfiber cloth. Remove dust, fingerprints, and other debris.
- Create a Dust-Free Environment: Perform the installation in a clean, well-lit area. A slightly humid bathroom can help reduce airborne dust.
- Align the Protector: Before peeling the adhesive backing, align the screen protector with your device to ensure proper placement.
- Peel and Stick Gradually: Slowly peel off the backing while pressing the screen protector onto the screen, starting from one edge and working your way across.
- Remove Bubbles: Use a credit card or a dedicated squeegee to gently push out any air bubbles toward the edges.
How to Apply Screen Protector Without Bubbles on Tablet
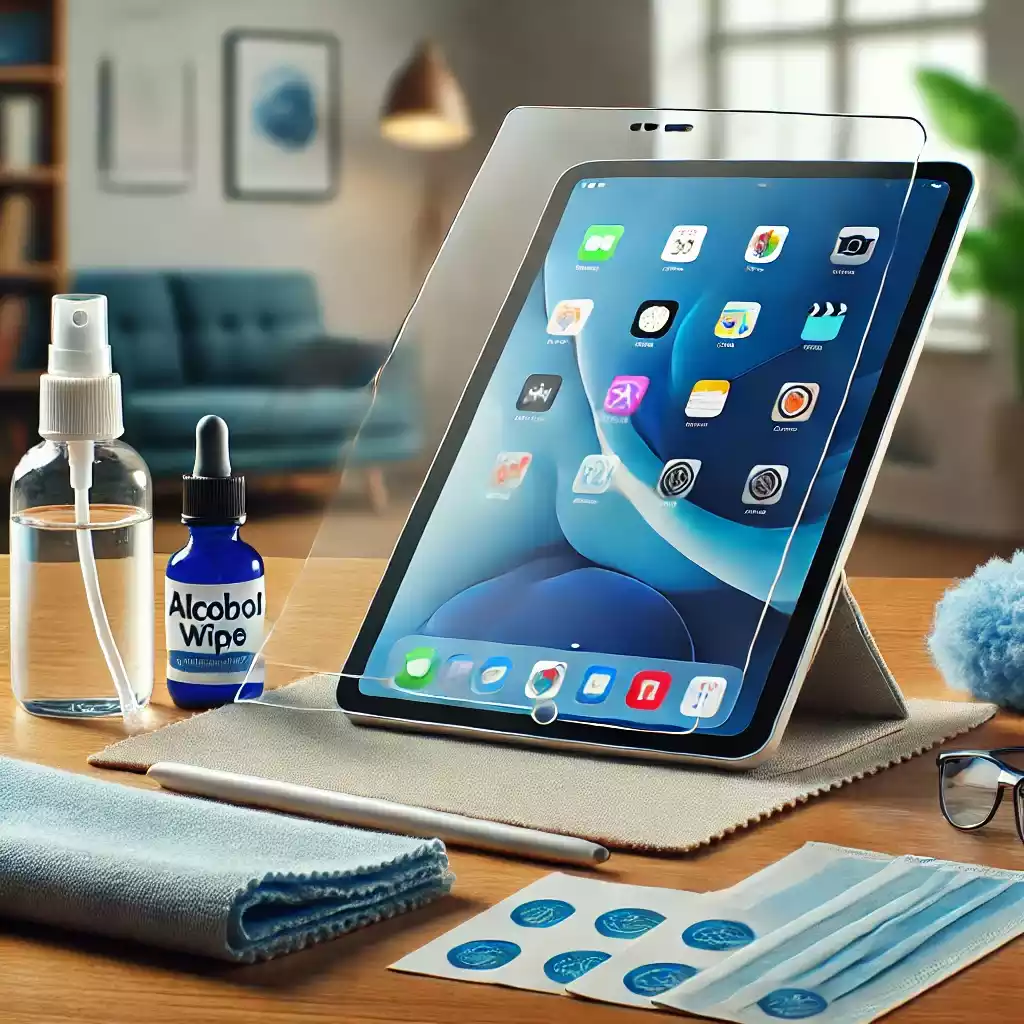
- Preparation: Clean the tablet’s screen thoroughly to ensure it is free from dust and smudges.
- Alignment: Align the screen protector with the tablet’s edges and camera cutouts before peeling the adhesive.
- Application: Begin from one corner and slowly lay down the screen protector, pressing it gently with a card or applicator tool.
- Final Touches: Check for air bubbles and push them out using a microfiber cloth or squeegee.
How to Apply Screen Protector Without Bubbles on Laptop

- Clean the Surface: Wipe the laptop screen with an alcohol-based cleaner and dry it using a lint-free cloth.
- Positioning: Align the screen protector to the laptop screen without removing the backing.
- Stick it Gradually: Peel a small portion of the adhesive backing and stick the screen protector to the top edge. Slowly work your way down while smoothing it out.
- Remove Air Bubbles: Use a flat-edge tool to gently push any bubbles to the edges.
How to Put on Screen Protector with Guide Sticker
- Use Guide Stickers: Place guide stickers on one edge of the screen protector and attach them to the back of the device. This ensures proper alignment.
- Align and Secure: Adjust the screen protector to fit perfectly, then peel off the backing while using the guide stickers to hold it in place.
- Stick it Smoothly: Press down from one edge to the other, ensuring no air bubbles form.
- Finish with a Squeegee: Use a card or squeegee to smooth out any remaining bubbles.
How to Protect Your Screen Guard? Tips for Long-Lasting
How to Apply Screen Protector Without Bubbles on iPad
- Clean the Screen: Wipe the iPad screen with an alcohol pad and microfiber cloth.
- Align the Protector: Place the screen protector over the screen to check alignment with buttons and camera cutouts.
- Stick it Down: Start from the top edge and peel off the backing gradually while pressing down the protector.
- Eliminate Bubbles: Push bubbles to the edges using a flat object, like a credit card wrapped in a microfiber cloth.
How to Put Screen Protector on Android Phone
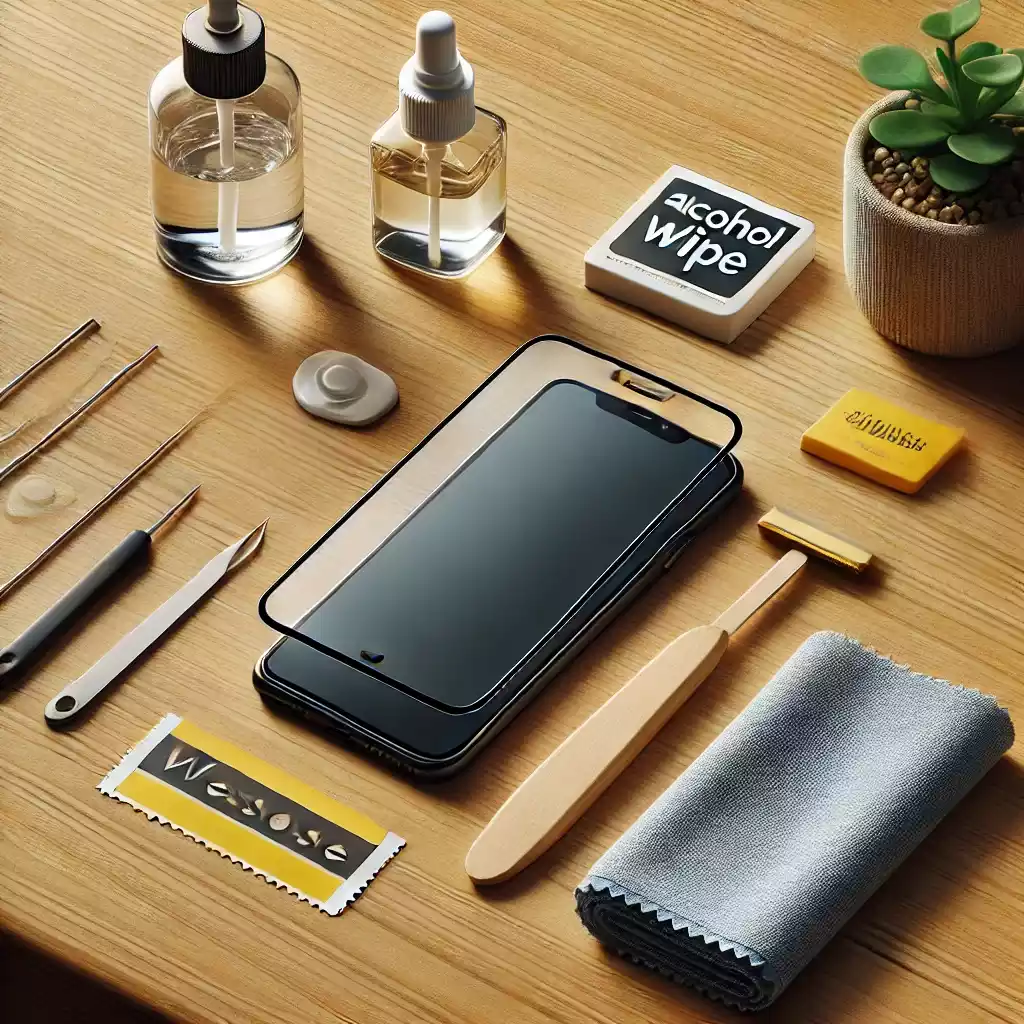
- Prepare the Screen: Clean the screen with the provided alcohol pad and ensure it is dry.
- Align the Protector: Match the protector with the phone’s screen and features, such as the camera and speaker.
- Peel and Place: Remove the adhesive backing and gently lay down the screen protector.
- Smooth it Out: Use a soft card to remove any bubbles, starting from the centre and moving outward.
How to Put a Screen Protector on iPhone Without Bubbles
- Clean and Prep: Use the included alcohol wipe and microfiber cloth to clean your iPhone’s screen.
- Align Perfectly: Position the screen protector over the phone to ensure proper placement.
- Apply Gradually: Peel off the adhesive backing in sections and smooth the protector onto the screen.
- Remove Bubbles: Push out any air bubbles using a squeegee or a credit card wrapped in a cloth.
How to Put Screen Protector Without Bubbles Video
By following these steps, you can ensure a bubble-free and professional-looking screen protector installation on your devices. Remember to take your time, prepare your workspace, and use the tools provided with the screen protector.
Thanks for Reading!
Read more:
How to Protect Your Phone Screen
Glass Screen Protector vs. Plastic: Which is More Durable?
The Best Tech Gadgets and Devices of 2024
How to Secure Your Online Accounts from Hackers
Eco-Friendly Mobile Accessories

